FAQ: How to add missing colors?
Step 1:
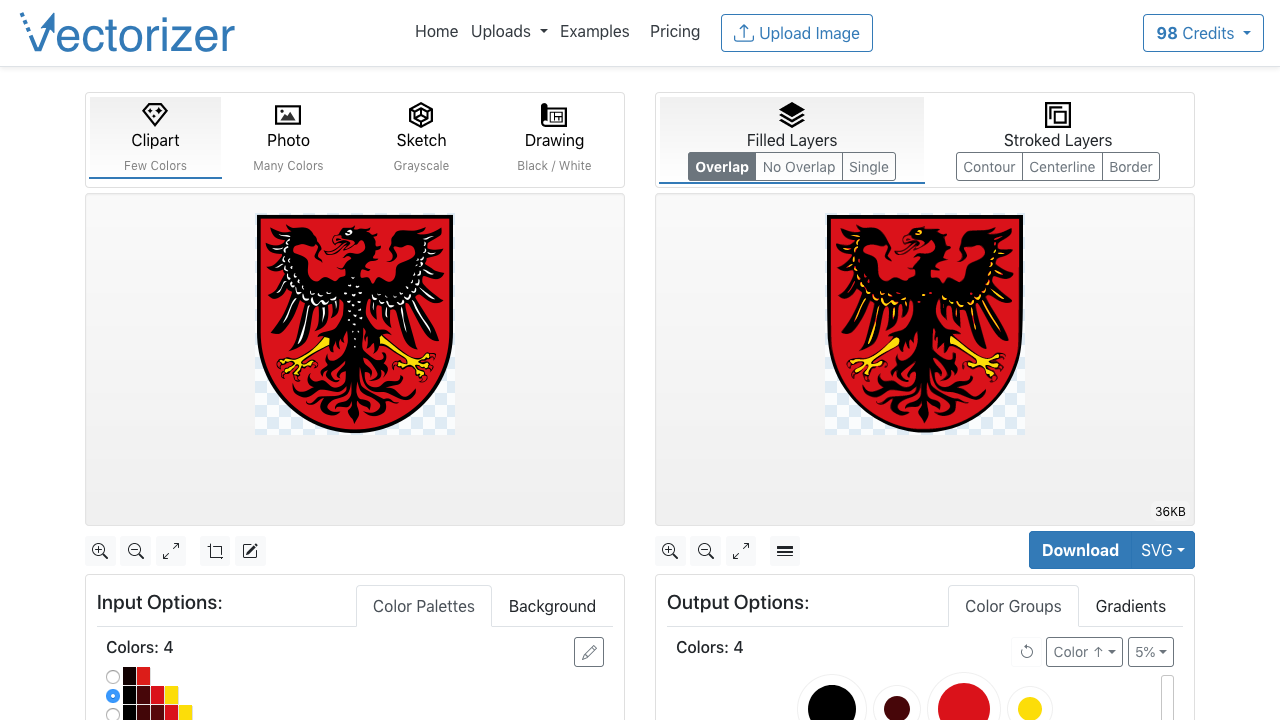
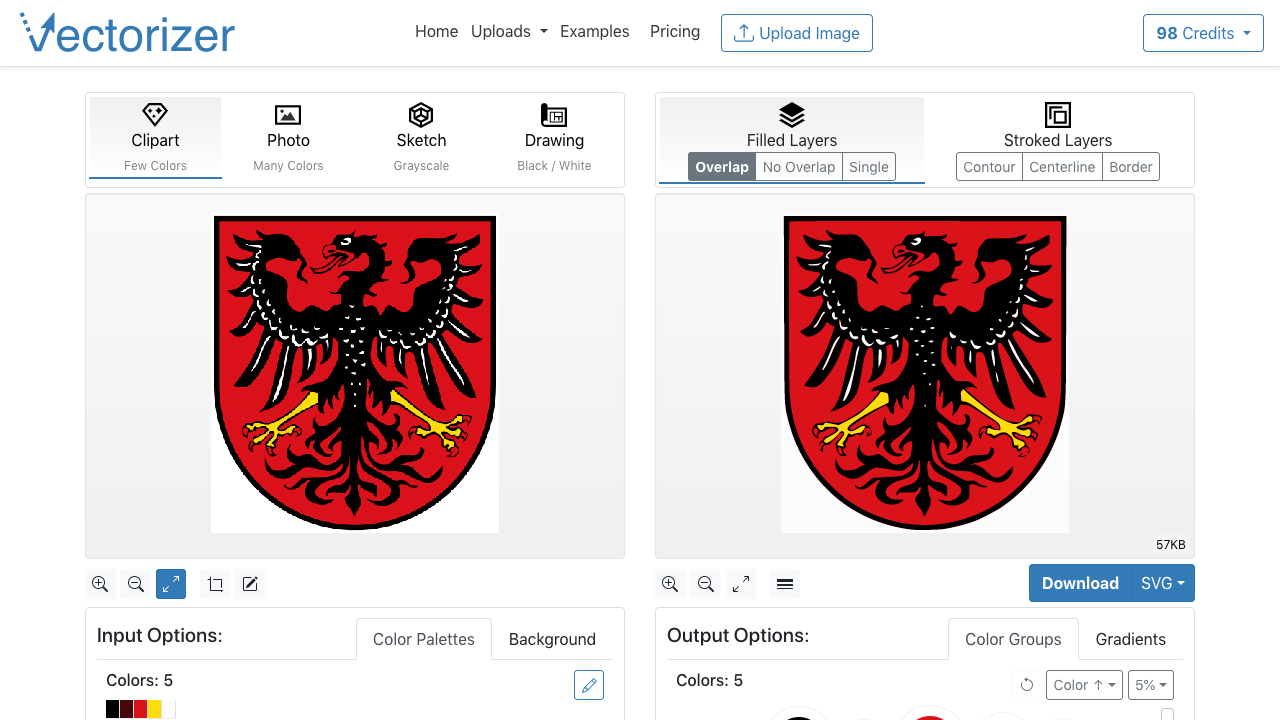
Identify if the output on the output on the right side has missing colors. If yes also make sure that the matching mode for your image is selected. Select "Clipart" for images with few colors like logos. Select "Photo" if your input image is a photo with many colors.
Step 2:
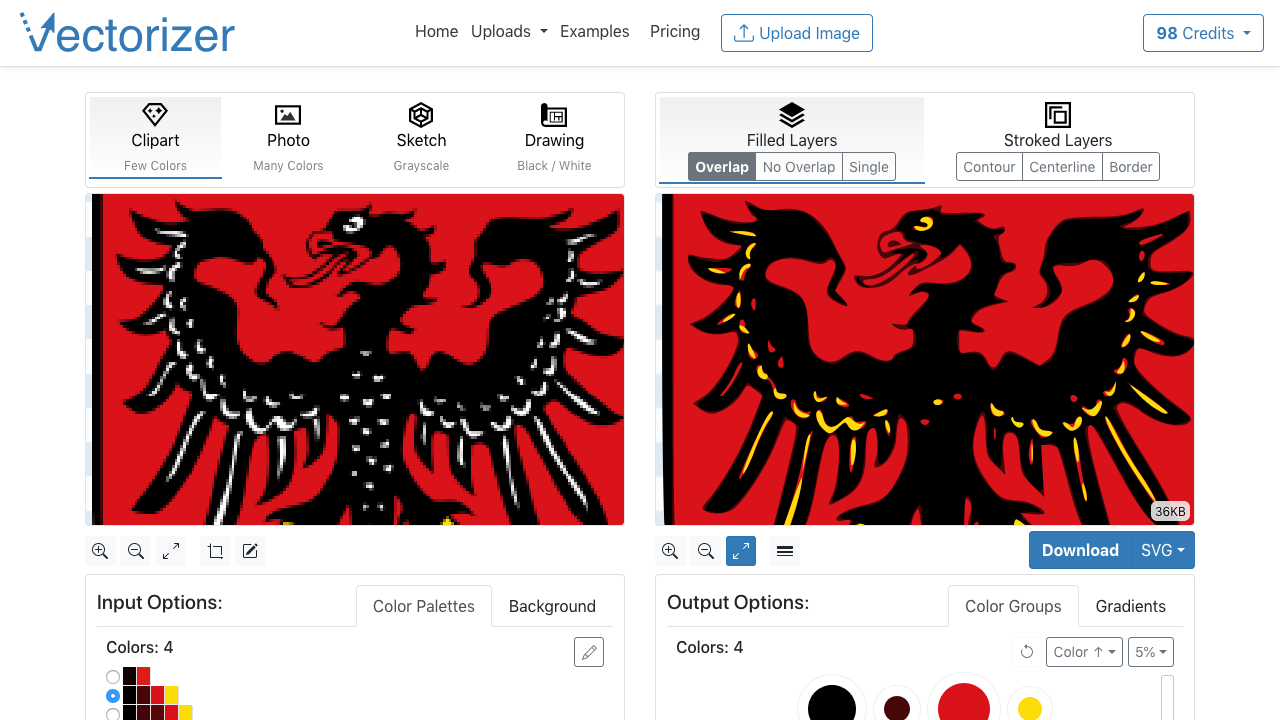
Zooming in shows clearly that in this example the white parts of the image are missing.
Step 3:
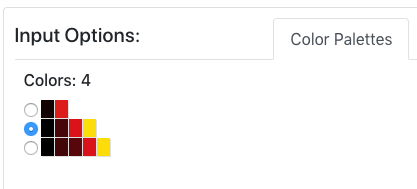
In this example there is no alternative palette containing the required white color.
Step 4:
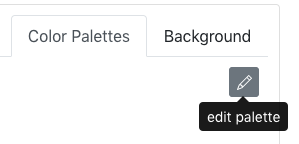
Click the "edit palette" button.
Step 5:
The edit palette dialog shows the currently active palette on the left side and on the right the zoomable input raster image.
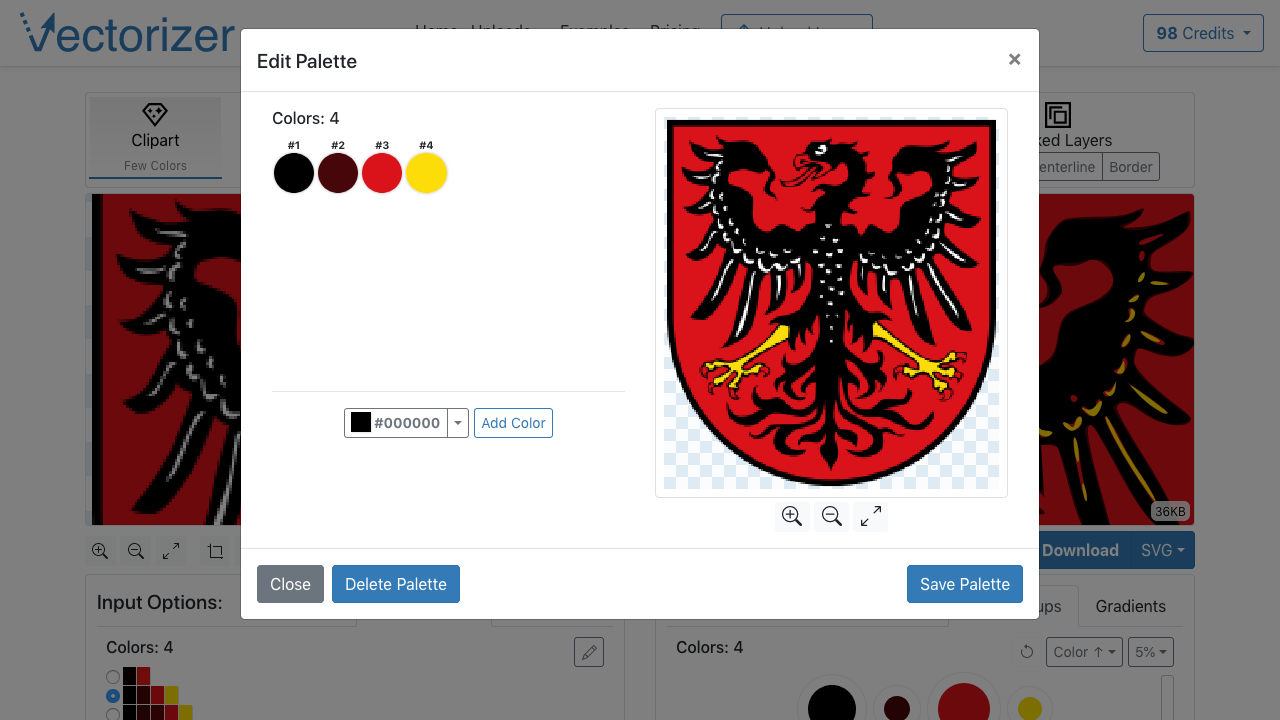
Step 6:
Select the missing color by clicking it on the right side with the crosshair cursor or select it manually using the color select dialog. Press "Add Color" to add it to the current palette. Click "Save Palette" to close this dialog. 
A palette can only contain up to 32 colors. Sometimes it might be necessary to remove a color from the active palette to add a missing color. To remove a color move the mouse cursor over one color circle (eg. #1) and click the delete icon. 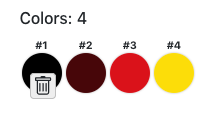
Step 7:
Check if the generated vector output on the right side now contains the missing color. If there are more colors missing repeat the above steps.
